
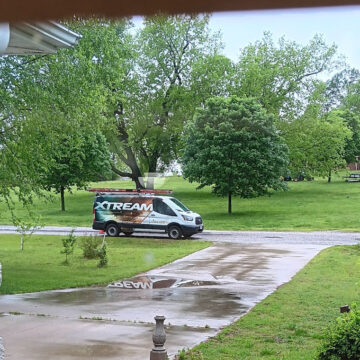
Last night, it was maybe 9 or 9:30 p.m. In the distance, we heard thunder. It wasn't loud. It didn't sound angry. Vince said "We'd better get the dogs out before it starts raining again." I took Oscar out. Then Vince took Rita out and I got Cooper's harness and was on my way out with him. Vince had just stepped back onto the patio and I was just stepping from the garage onto the patio and y'all . ...
Rain!
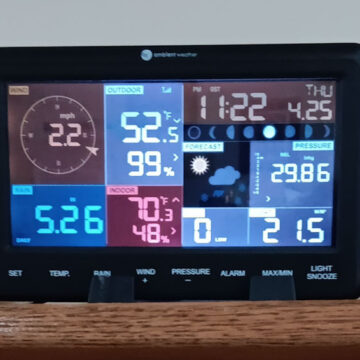
I had mentioned that it was going to rain yesterday, today, Friday, Saturday AND Sunday. Yesterday it started raining before I was ready . . bad Mother Nature! I ran out, in the rain, a added blood meal to the garlic and before I had even finished, the rain stopped. That was it for yesterday's rain. The sun came out and it was a beautiful day. We knew there was going to be a lot of rain today and ...
Floss for No Bees

Once the floss was organized, I was ready to do a conversion and pull the floss for No Bees by Birds of a Feather. I started by pulling the called for floss. I pulled the Gentle Art floss if I had it and if not, I pulled DMC. In the photo below, you can see the called for floss on the left of each pair and the floss on the right is the Victorian Motto that I pulled. Those are pretty ...
Another “If You Give a Mouse a Cookie” Day
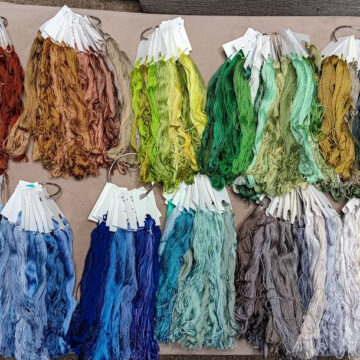
Yesterday I was going to get "No Bees, No Honey" kitted. I knew I didn't have all the called for Gentle Arts floss and I figured that was a good time to match up some Victorian Motto floss and use that. I have ordered quite a bit of floss from them through the years and have always been happy with them. Their skeins have 20 yards and there are so many colors. Most often, their floss is sold in ...
The Next Project
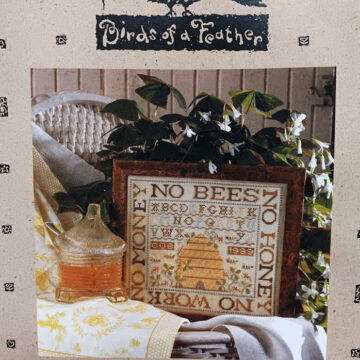
A friend and I had both bought this chart and had planned to stitch it together but I've gotten so behind on finishing projects that I couldn't start any more til I finished something and could take it off the frame. Yesterday my friend asked me if I wanted to start No Bees No Honey by Birds of a Feather. I went to my spreadsheet and found that this chart was in the "Kits 1" bin. I pulled it out ...
On the Cross Stitching Front

If you thought I would have Faith, Hope, Peace and Love finished by the end of last week (or whenever I said I wanted to have it finished), it didn't happen. I'm am hoping to have it finished by Sunday. Surely I can do that. This time of year, rain is my friend. The garden needs rain and it keeps me inside. Yesterday I had gone out several times and Vince said "What are you doing out there?" I ...