Skip to main content
Skip to primary sidebar
Home
X-Stitch Projects
2023 WIP Along
Useful Links
Contact
You are here:
Home
/
2012
/
July
/
Archives for 9th
Archives for July 9, 2012
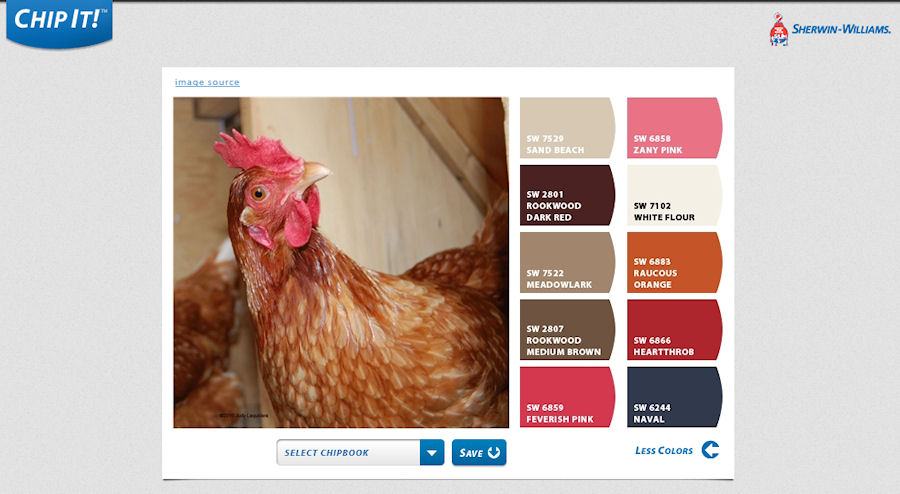
Chip It Progress
Design Wall Monday – July 9, 2012
Nicole’s Sofa Quilt – Hour #11