Skip to main content
Skip to primary sidebar
Home
X-Stitch Projects
2023 WIP Along
Useful Links
Contact
You are here:
Home
/
Archives for Tutorials
Tutorials
Borders for Blocks Set on Point
Longarm Quilting Posts
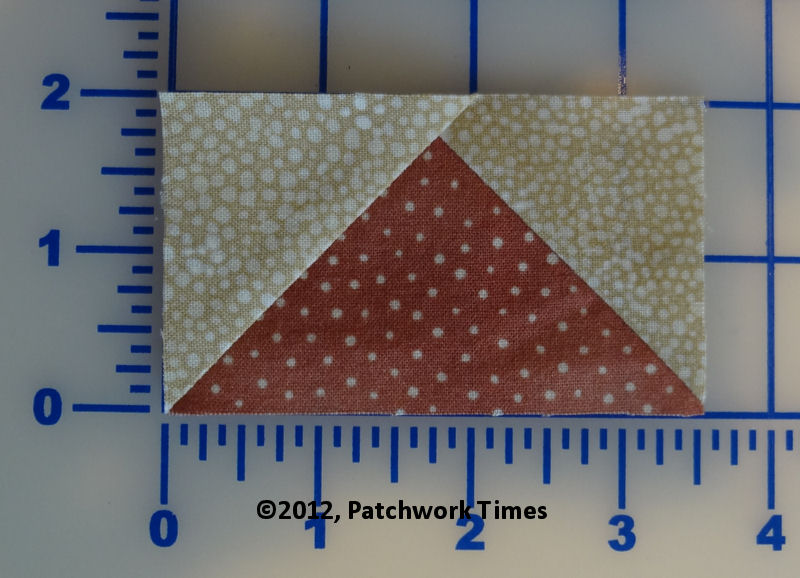
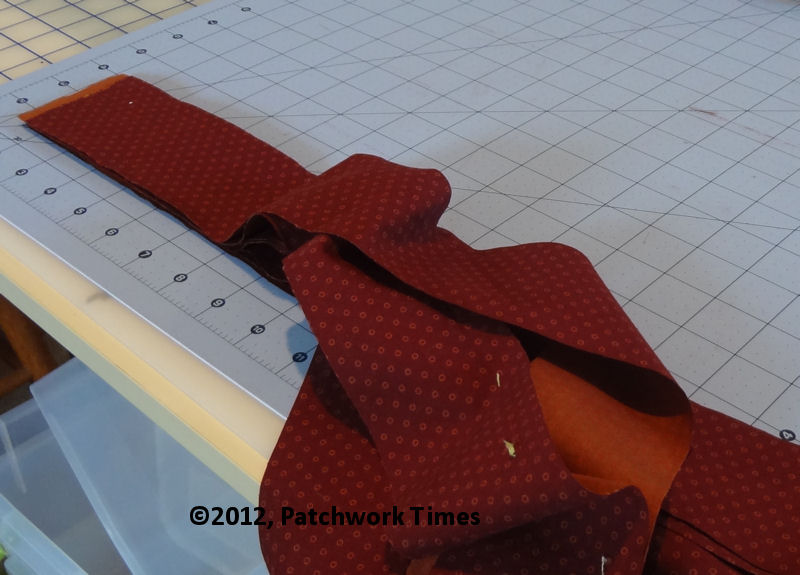
Flying Geese Tutorial
Feather Lessons
Binding . . A – Z
Flat Non-Waving Quilts – Part 3
Next Page »