Skip to main content
Skip to primary sidebar
Home
X-Stitch Projects
2023 WIP Along
Useful Links
Contact
You are here:
Home
/
Archives for Feathered Wreath
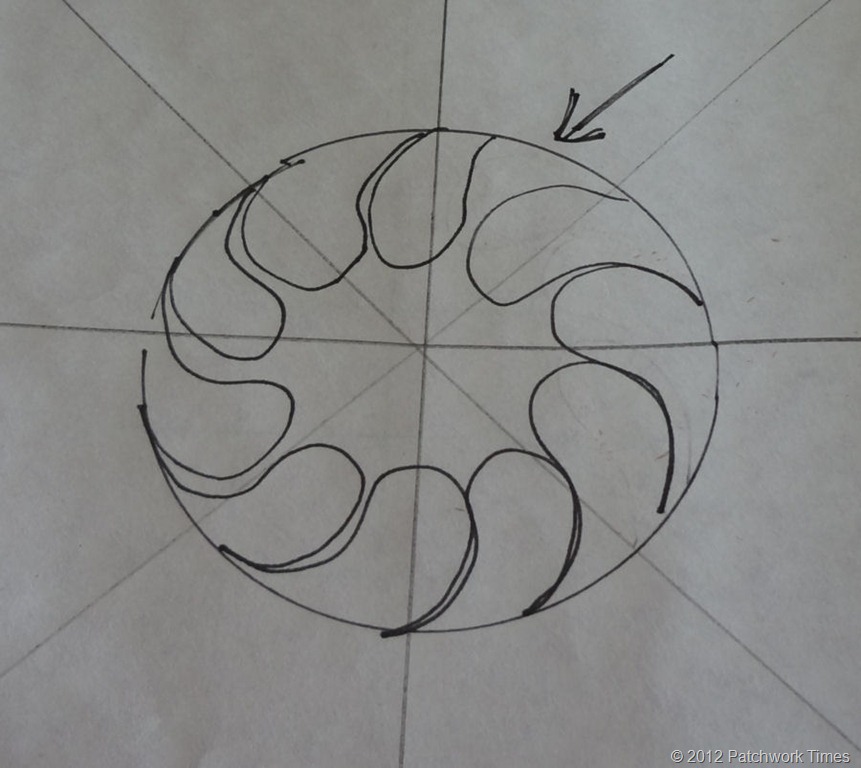
Feathered Wreath
Feathers – Help with Wreath