Skip to main content
Skip to primary sidebar
Home
X-Stitch Projects
2023 WIP Along
Useful Links
Contact
You are here:
Home
/
Archives for Quilting
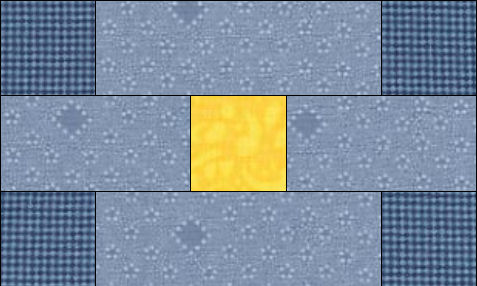
Quilting
Fit for a Hero Instructions #6
Fit for a Hero Instructions #5
Fit for a Hero Instructions #4
Let’s Make a Perfect Quilt – Part 1
Design Wall Monday
Week 51 Stash Report
Next Page »