Skip to main content
Skip to primary sidebar
Home
X-Stitch Projects
2023 WIP Along
Useful Links
Contact
You are here:
Home
/
Archives for Sourdough
Sourdough
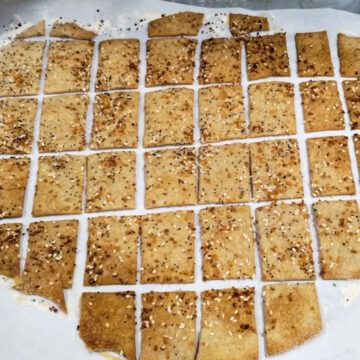
Sourdough Discard Crackers
Sourdough
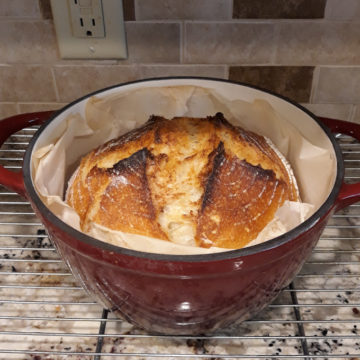
White Bread With A Little Sourdough
Saving and Sharing Sourdough
Feeding the Sourdough
Sourdough Bread Baking
Next Page »